How to View and Cleanup Temporary Files in Windows 10?
Option 1: Using Windows File Explorer
- Go to the Windows Cortona (search box) next to the Start button and type “%temp%” to locate the temporary files folder on your computer then click on the folder from the results.
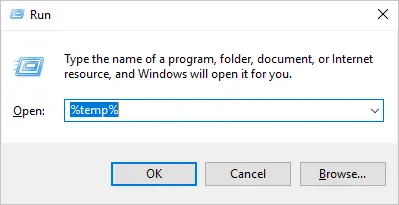
- Alternatively, open the run utility by pressing “Win + R” keyboard shortcut keys on your keyboard, then type “%temp%” and then press enter or click “OK”.
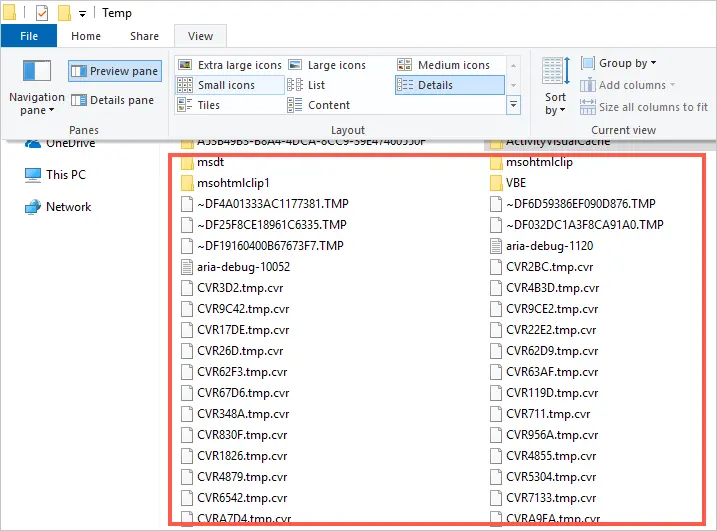
- This will open the “Temp” folder which holds all the temporary files and folders. To view all the files in this folder, go to the view tab and tick the “Hidden items” checkbox.
- In order to delete the temp files – select everything in the folder by pressing the “Ctrl + A” keys on the keyboard. Otherwise, click the first item, scroll down to bottom of the folder contents, then hold “Shift” on the keyboard and click the last item to highlight all.
- You can press “Shift + Delete” keys from the keyboard to delete the files permanently. Or Right-click inside the folder, click “Delete” to move the files to the “Recycle Bin”.
- When asked whether you want to delete files, click “Yes”.
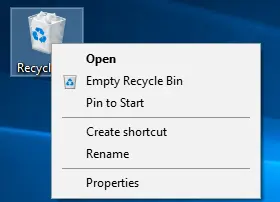
- If you have moved the files to Recycle Bin, right-click on “Recycle Bin” on your desktop and select “Empty Recycle Bin” to delete the files permanently.
Option 2: Using Windows 10 Settings
- Open the Windows 10 Settings by clicking the gear icon from the Start Menu. Or press “Win + I” keys to open the Settings app. Click the “System” settings icon from the settings panel.
- Select the “Storage” settings from the left pane and your local storage disks will be displayed on the right-side pane. Click the disk with your Windows 10 installation.
- This will display a breakdown for your disk usage.
- Click on the “Temporary files”, Windows will scan and display all the temp files on your computer. Or follow the “Free up space now” link to view and remove the temporary files.
- You can view and tick the items you want to delete permanently. Click button named “Remove files” located at the top of the list.
- Click “Yes” on the confirmation dialog to complete the cleanup.
Option 3: Automatic Cleanup Using Windows Storage Sense
You can also use Storage Sense to automatically delete temporary files that are no longer required. To do so;
- Follow steps (1-4) in option 2 above to access the “Storage” settings.
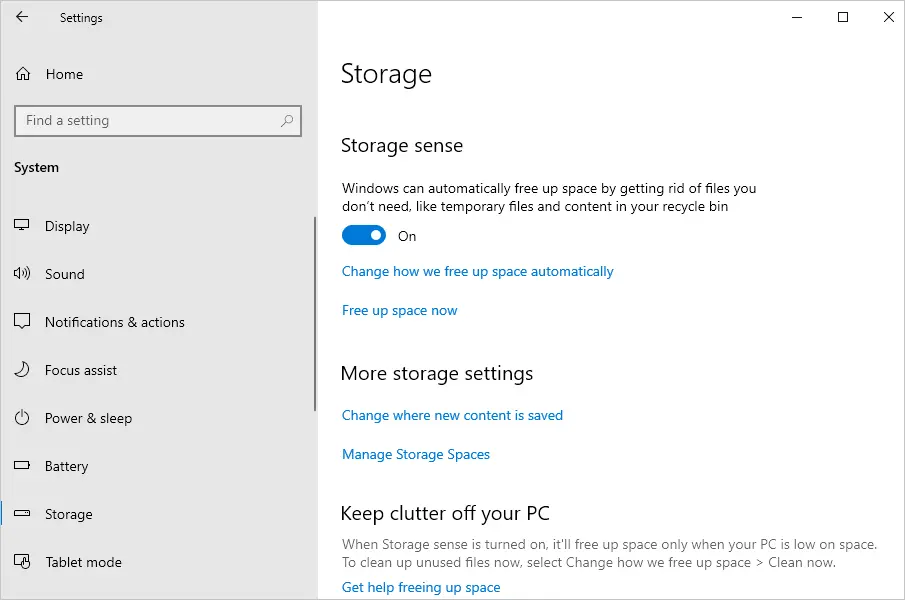
- Activate “Storage sense” by sliding the switch to the right (it should turn blue).
- You can also customize how and when “Storage sense cleans up your computer by clicking the “Change how we free up space automatically” link then select your preferred settings.
This allows Windows 10 to automatically remove all the temporary files that you no longer need from your computer.
Option 4: View and Remove Temp Files Using Windows Disk Cleanup
There are two ways of accessing the disk cleanup tool in Windows 10:
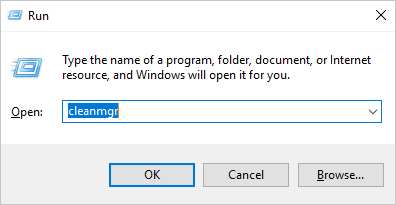
- Open the run command by using the “Windows” + “R” sticky keys, then type “cleanmgr” and click “OK”.
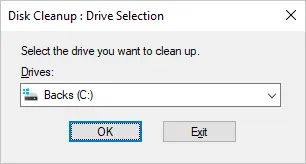
- Select the disk loaded with Windows from the dialog that appears and click “OK” button”.
- Alternatively, open the file explorer and click “This PC” to show the storage disk. Right-click the system disk then go to “Properties”.
- Navigate to “General” tab and look for and select “Disk Cleanup”.
- The tool displays a list of all the temporary files on your PC. To view the temporary files, high light the option on the list and click the “View files” button on the bottom right.
- Check the box for the files you would like to delete and click the “Clean up system files” on the bottom left.
Option 5: Delete Temp Files Using Command Prompt
- Open the run command and type “cmd” then hit Enter on the keyboard or click the “Ok” button to open Command Prompt.
- Type the following command “del /q/f/s %TEMP%\*” the press the “Enter” key on your keyboard.
If you are running out of storage space, you can free up space on your drive by getting rid of the files that are no longer in use on your computer. You can use one of the above methods to delete temporary files that could be wasting your storage space. There is no risk in deleting all temp files as Windows will not delete files that are currently in use.







No comments:
Post a Comment